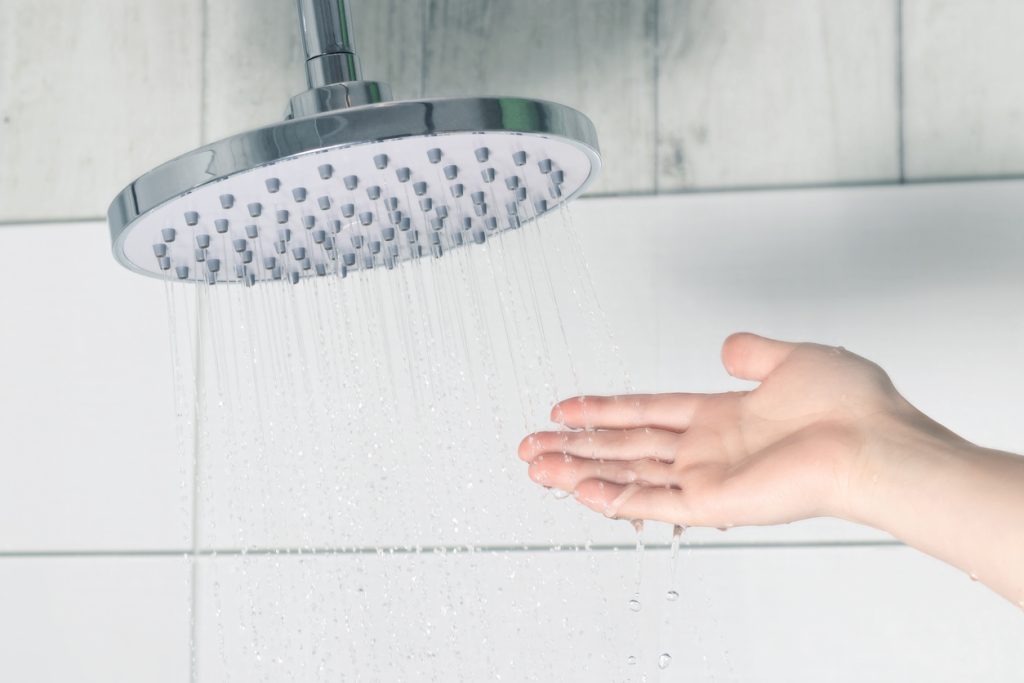
Is it time to replace your shower head? Is the old one worn out, leaking, or you just want a change? This article is a do-it-yourself instruction guide on how to change or replace your shower head on your own.
First, you should start by gathering your essential tools. You will want to have a tarp to prevent you from making a huge mess. You will also want to have a few towels on hand, Teflon tape, and adjustable wrench, and your new shower head. If you don’t have these tools right now then gather them before you start the process.
You may be thinking “duh”… but many shower replacements have been undertaken while there was at least some water flowing to the shower. Make sure it’s good and turned off.
Place your tarp and/or towels directly under the shower head and over the drain. This will help prevent small parts as well as excess water from getting everywhere.
You will want to wrap a towel around the base of the shower arm to give you a good firm grip. Take another towel and wrap it around the shower head and try to screw the shower head off this way. If it does not readily come off then you can break out the adjustable wrench. Once it’s unscrewed go ahead and clean the threaded area and shower arm for any debris.
This is the point where you take your Teflon tape and wrap it clockwise two or three times around the threads. You can do this for any joint on the shower arm. This really helps prevent future leaks and problems.
No matter what type of shower head you are installing the process largely remains the Same. Put the shower head onto the taped shower arm and twist it into place. Use your adjustable wrench for tightening. Make sure there is a towel or rag underneath you at this point.
Check to make sure your new shower head is working properly by slowly turning on the water and seeing how it flows. Make sure to take it up to max pressure level and let it run for a few minutes. If everything looks good pack up your gear and you are all set. If small leaks are appearing you may want to repeat the process including the tightening of joints until you get a firm seal.
If you have tried everything and your shower is still leaking you may need to replace the shower arm. Don’t forget, a plumber in your area can likely knock this all out and well under an hour. It may be worth the fee to save the anxiety.
Space Coast Plumbing, Inc.
P.O. Box 121770
West Melbourne, FL 32912
Monday through Friday: 8am – 5pm, closed Saturday and Sunday
2026 Copyright © Space Coast Plumbing Inc.. All rights reserved.
Website Design by Olympusweb.com